
Mosaic Making at Disney’s Contemporary Resort
A couple years ago we decided to start trying some of the resort activities during our trips. We quickly discovered just how many activities are offered, and slowly started making our way through them.
One of the favorite resort activities we’ve done is the mosaic making. This is offered at a number of the resorts and typically each resort has it’s own specific designs in addition to the standard Mickey and Minnie, like Simba at Animal Kingdom Lodge, or the five legged goat at the Contemporary. They even have special holiday designs at times too, like pumpkins in the fall for Halloween!
The most recent mosaic we made was at the Contemporary during our stay there. Note, you don’t actually need to be a guest of the resort to do this activity, all are welcome! You can find the phone number to sign up for the activity on the recreation calendar, it is recommended to sign up early to get a spot, however the day we went we were the only people doing the activity. The Cast Members did inform us however that usually the class is more full, we just got lucky with our day.
There is a fee to do this activity, when we went it was $25/person, however that is of course subject to change.
The day we went the class started at 1:00, we made our way down to the location around 12:45, but no one was there yet to let us in. The class was held in the small building next to the Sand Bar by the pool.
Just before 1:00 the Cast Members arrived to let us in, and gave us the great news that we’d be the only ones in the class that day!
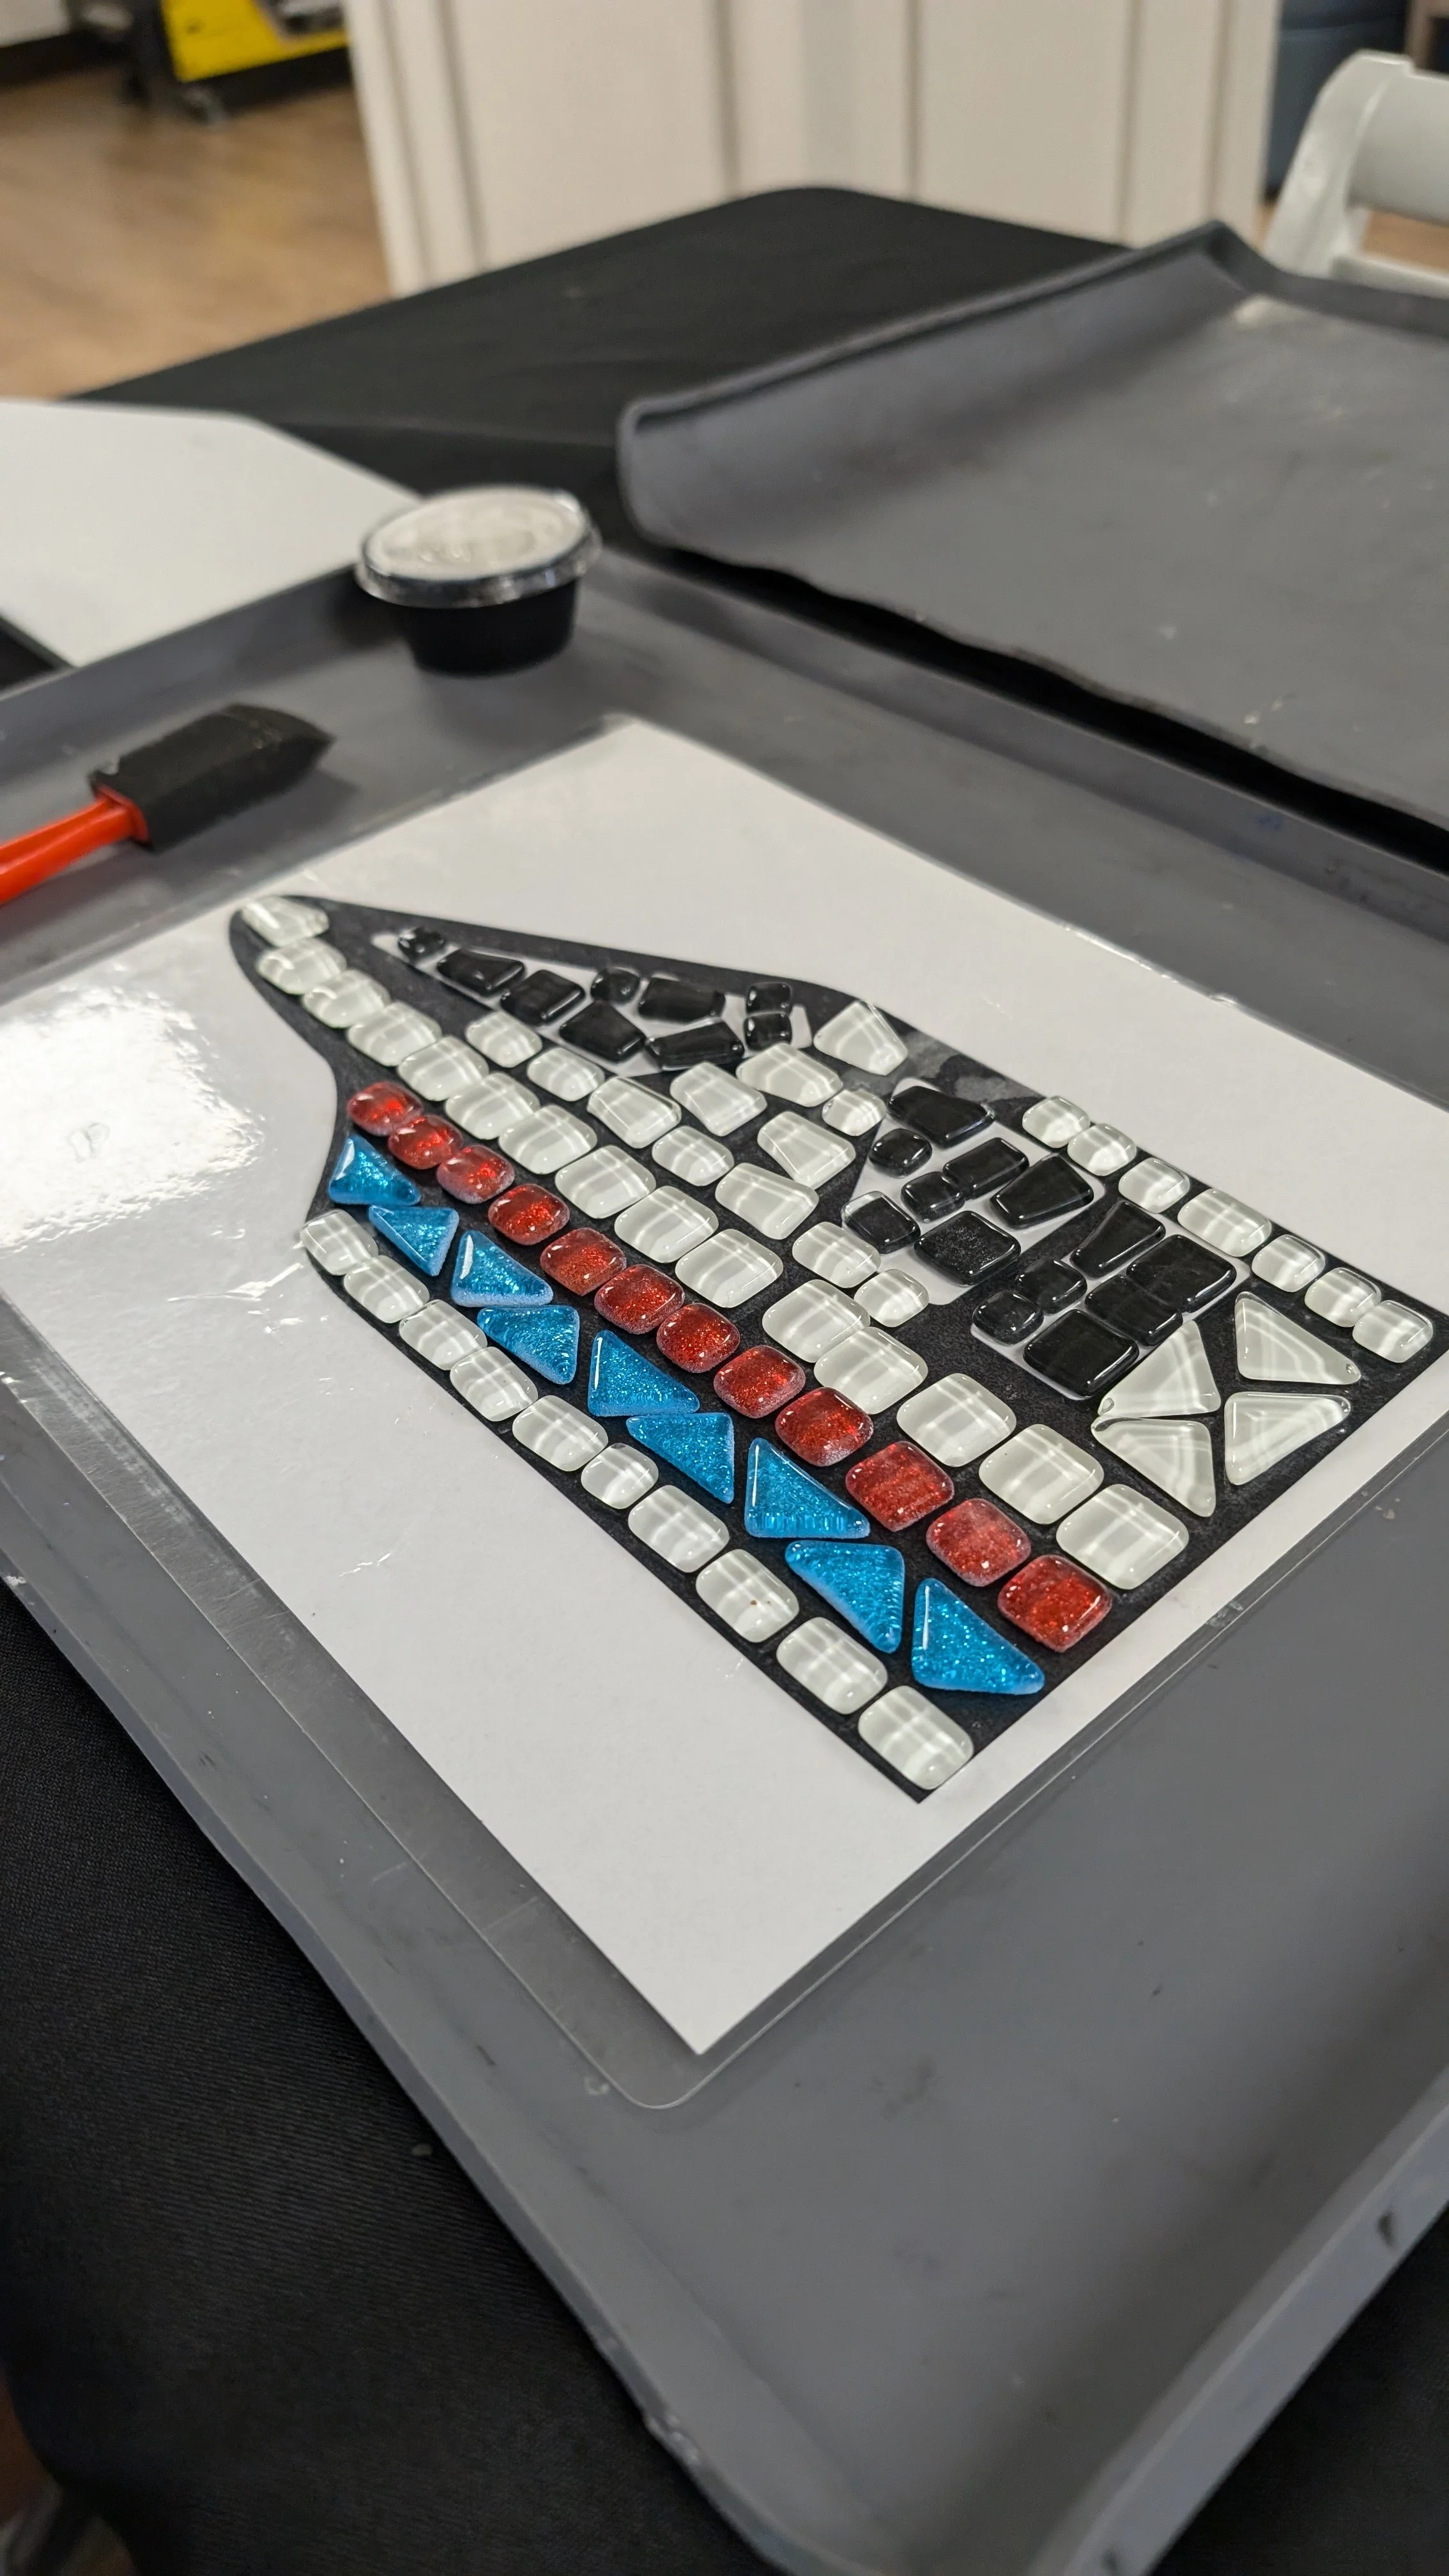
Once in, the Cast Members got everything set up, and then we got to pick our designs. Our options were the standard Mickey or Minnie, the front (or back) monorail car, a middle monorail car, the five legged goat, and a pumpkin Mickey (we did this in late September). Each guest can pick one. I ended up picking the five legged goat, and my friend got the front monorail car.
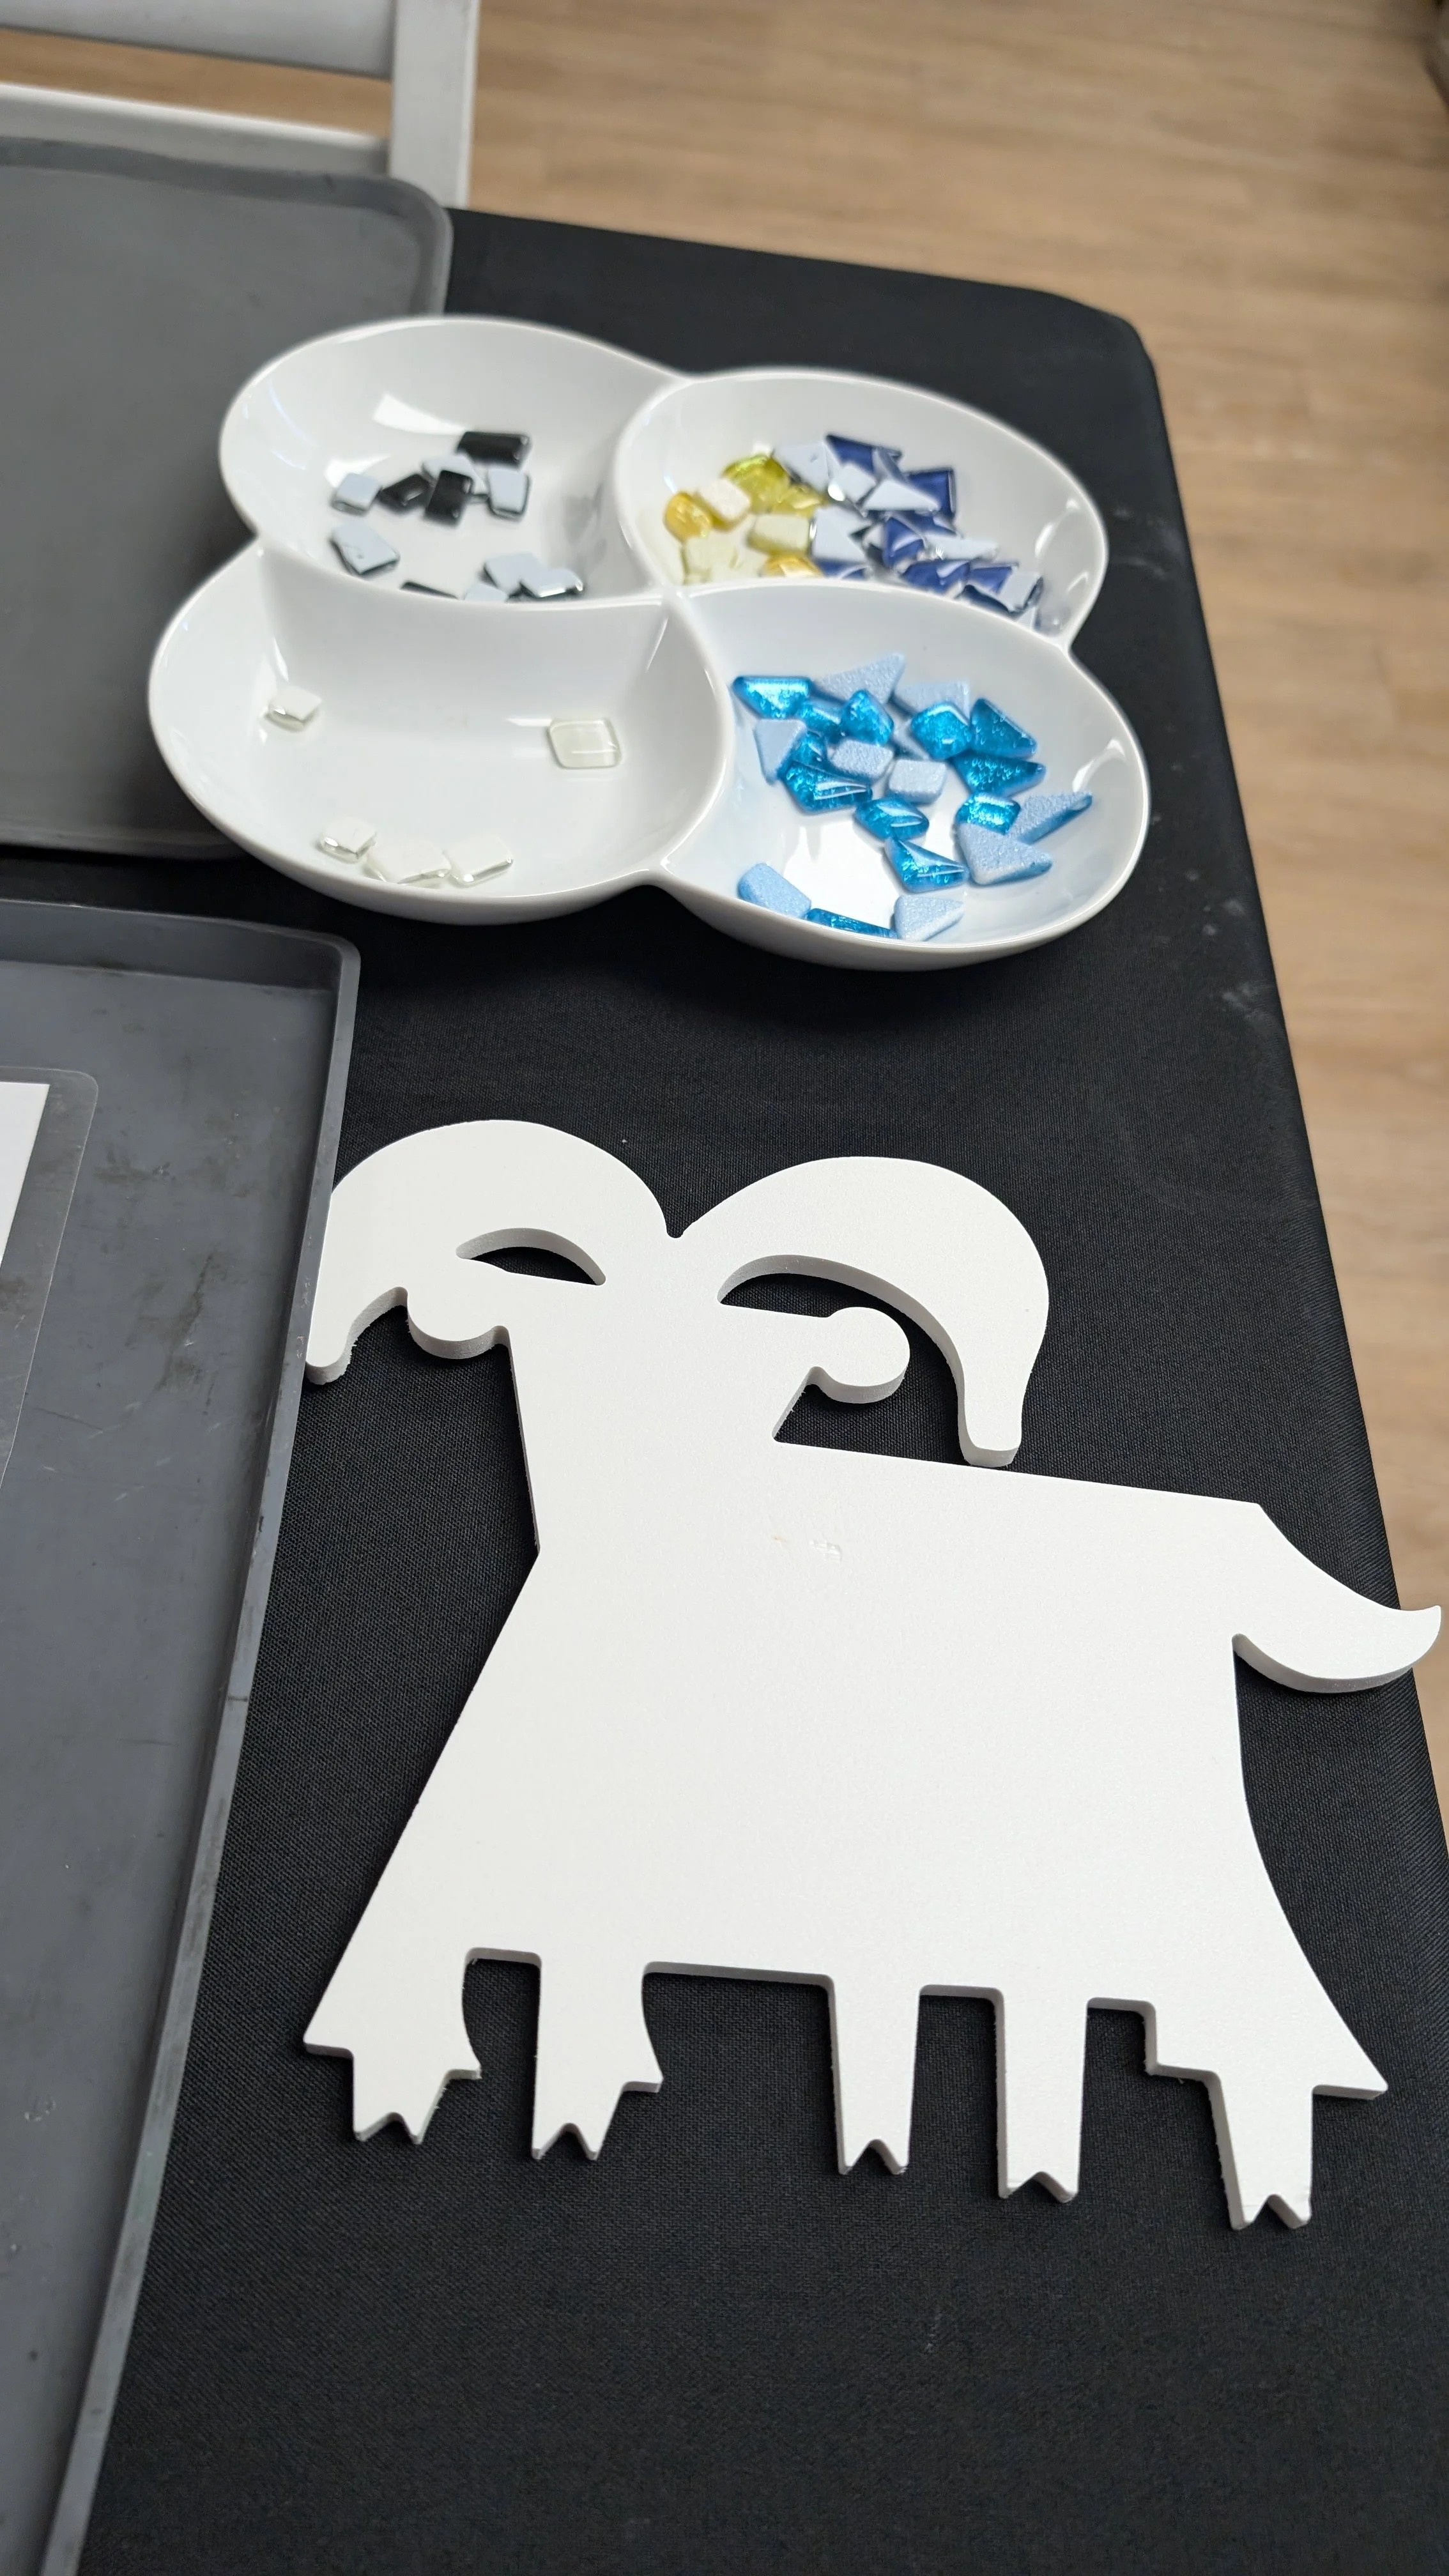
After our designs were picked, we got to select our tiles. They had a large selection of colors, and you could keep going up to the tile table to grab more as needed throughout the experience.
The Cast Members then went over the process with us. We started with laying out our tiles on the templates of our designs to figure out the layout prior to gluing it all down, and once that was complete, we would then move our tiles from the template to the actual mosaic backing where we would glue the tiles. The Cast Members did warn us, and we found it to be true, that even though the template and the mosaic backing are the same size, the tiles would probably not fit exactly the same way when we moved them over.
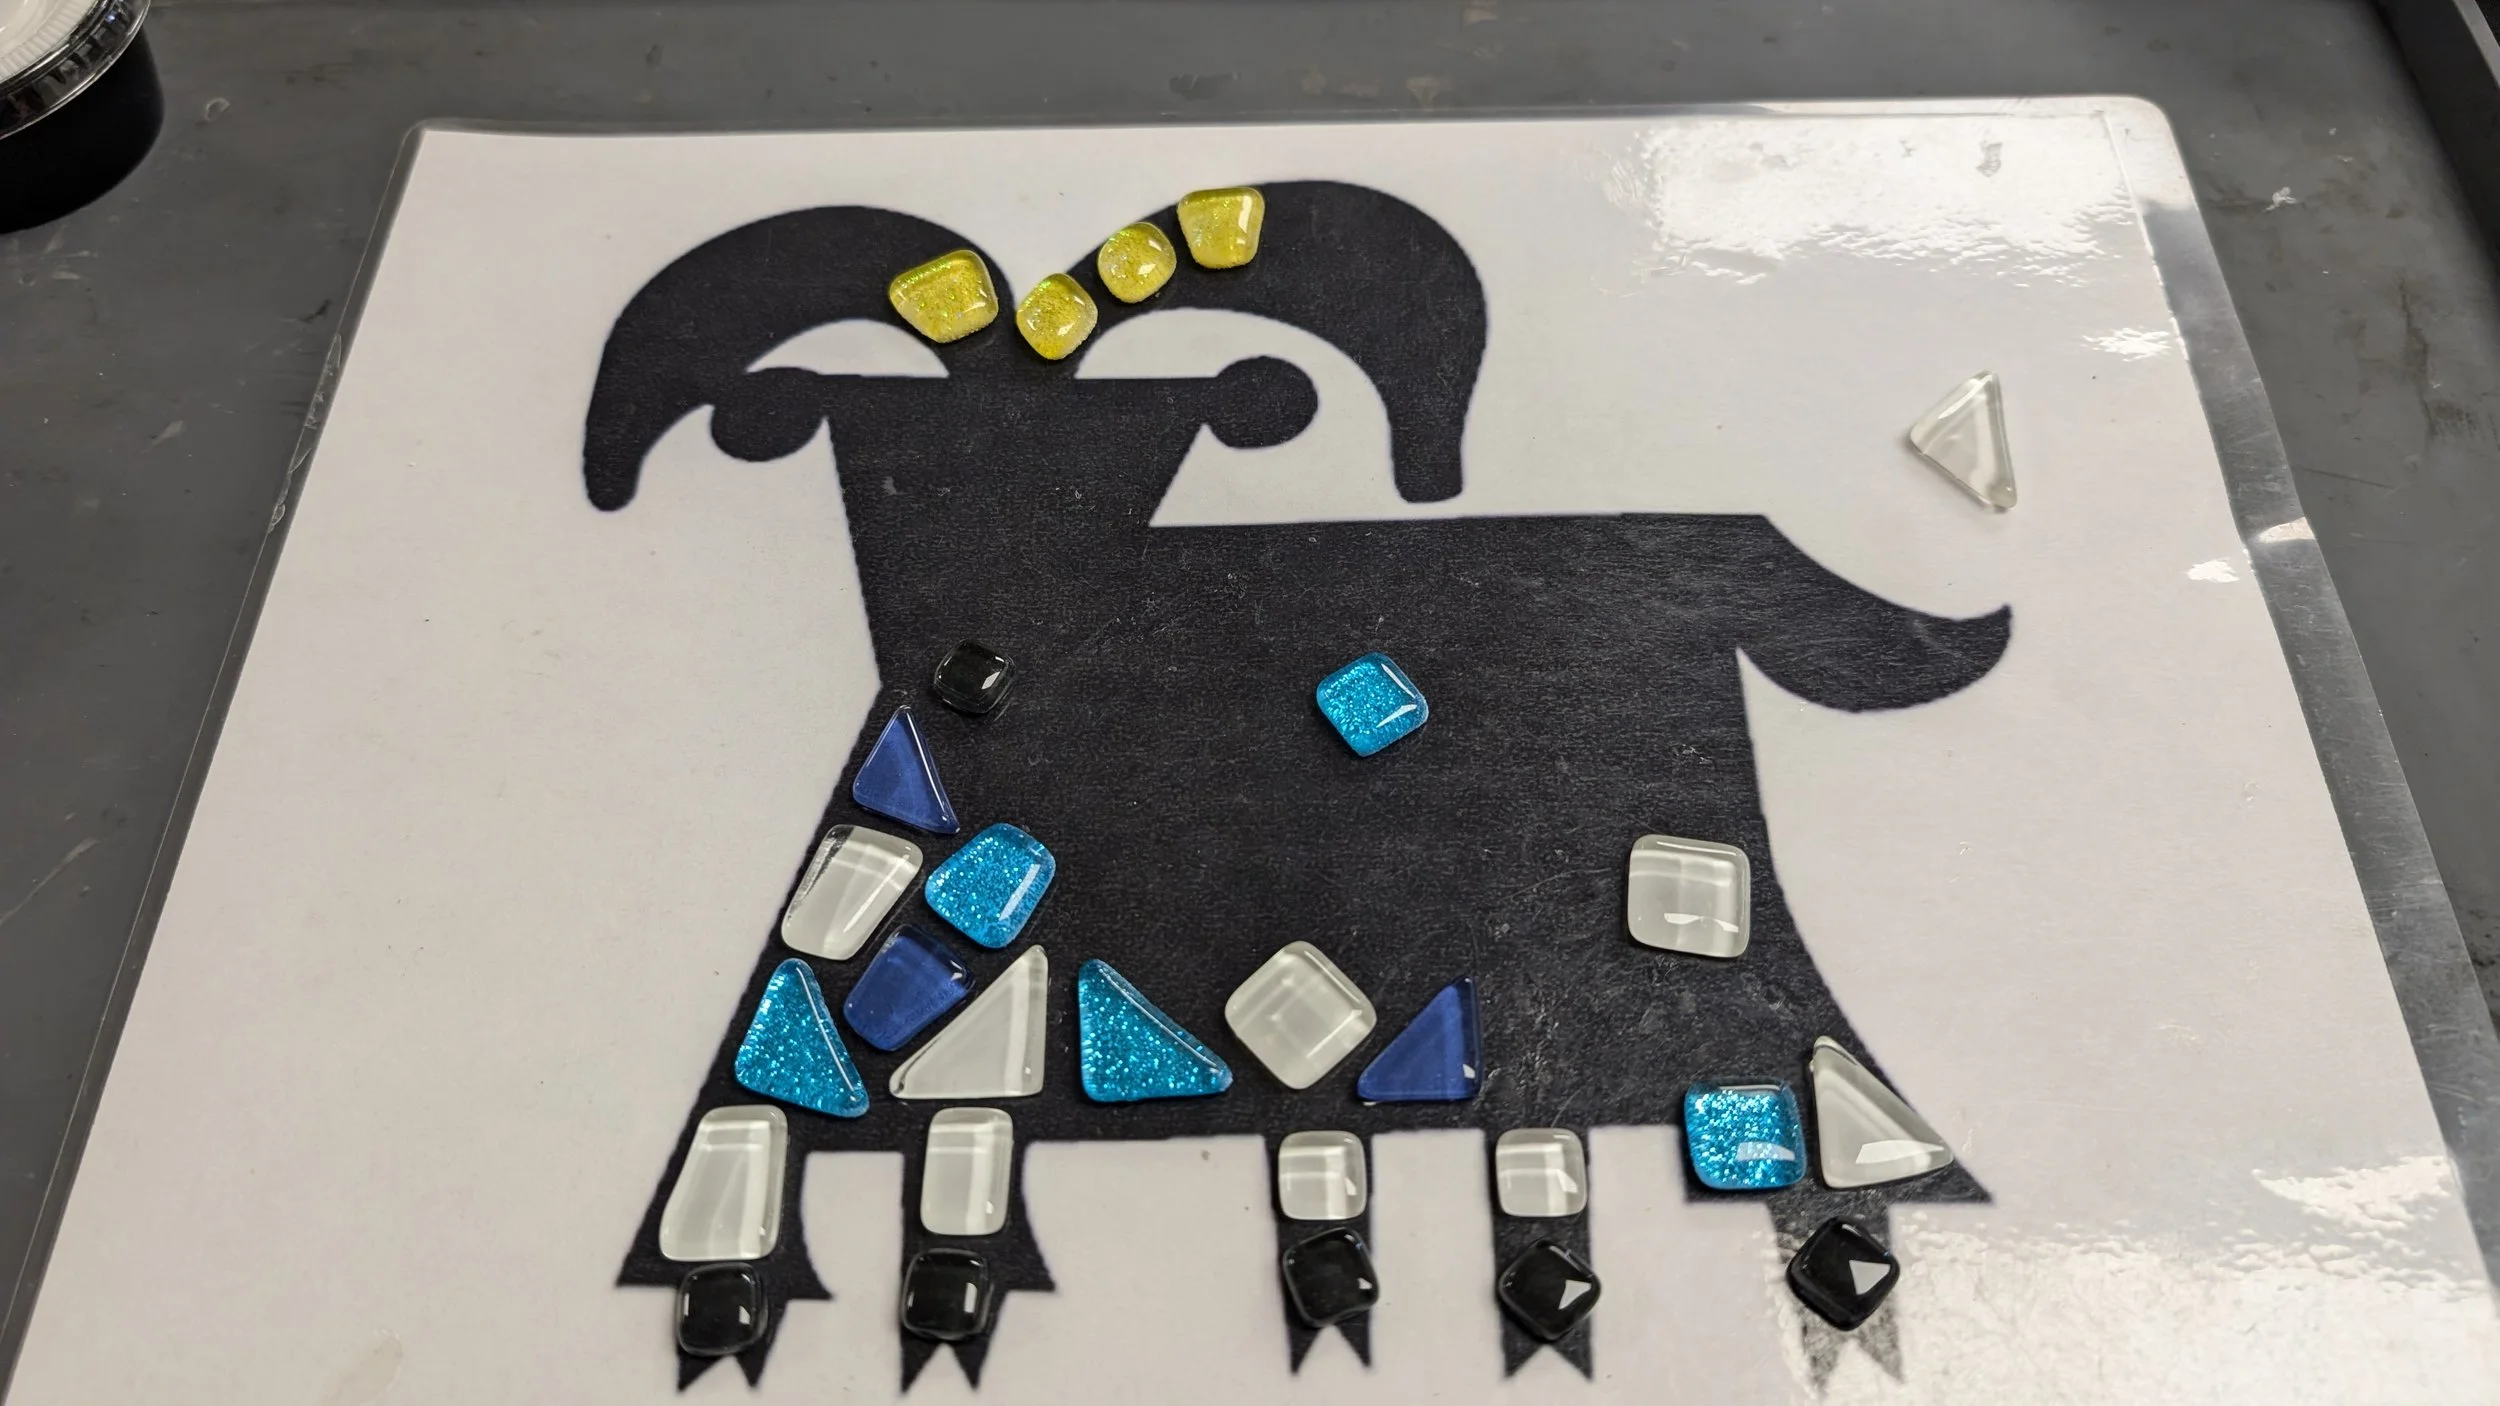
It took a while for us to lay out our tile design on the templates, but it was a fun process trying to get it just right! This part took roughly an hour.
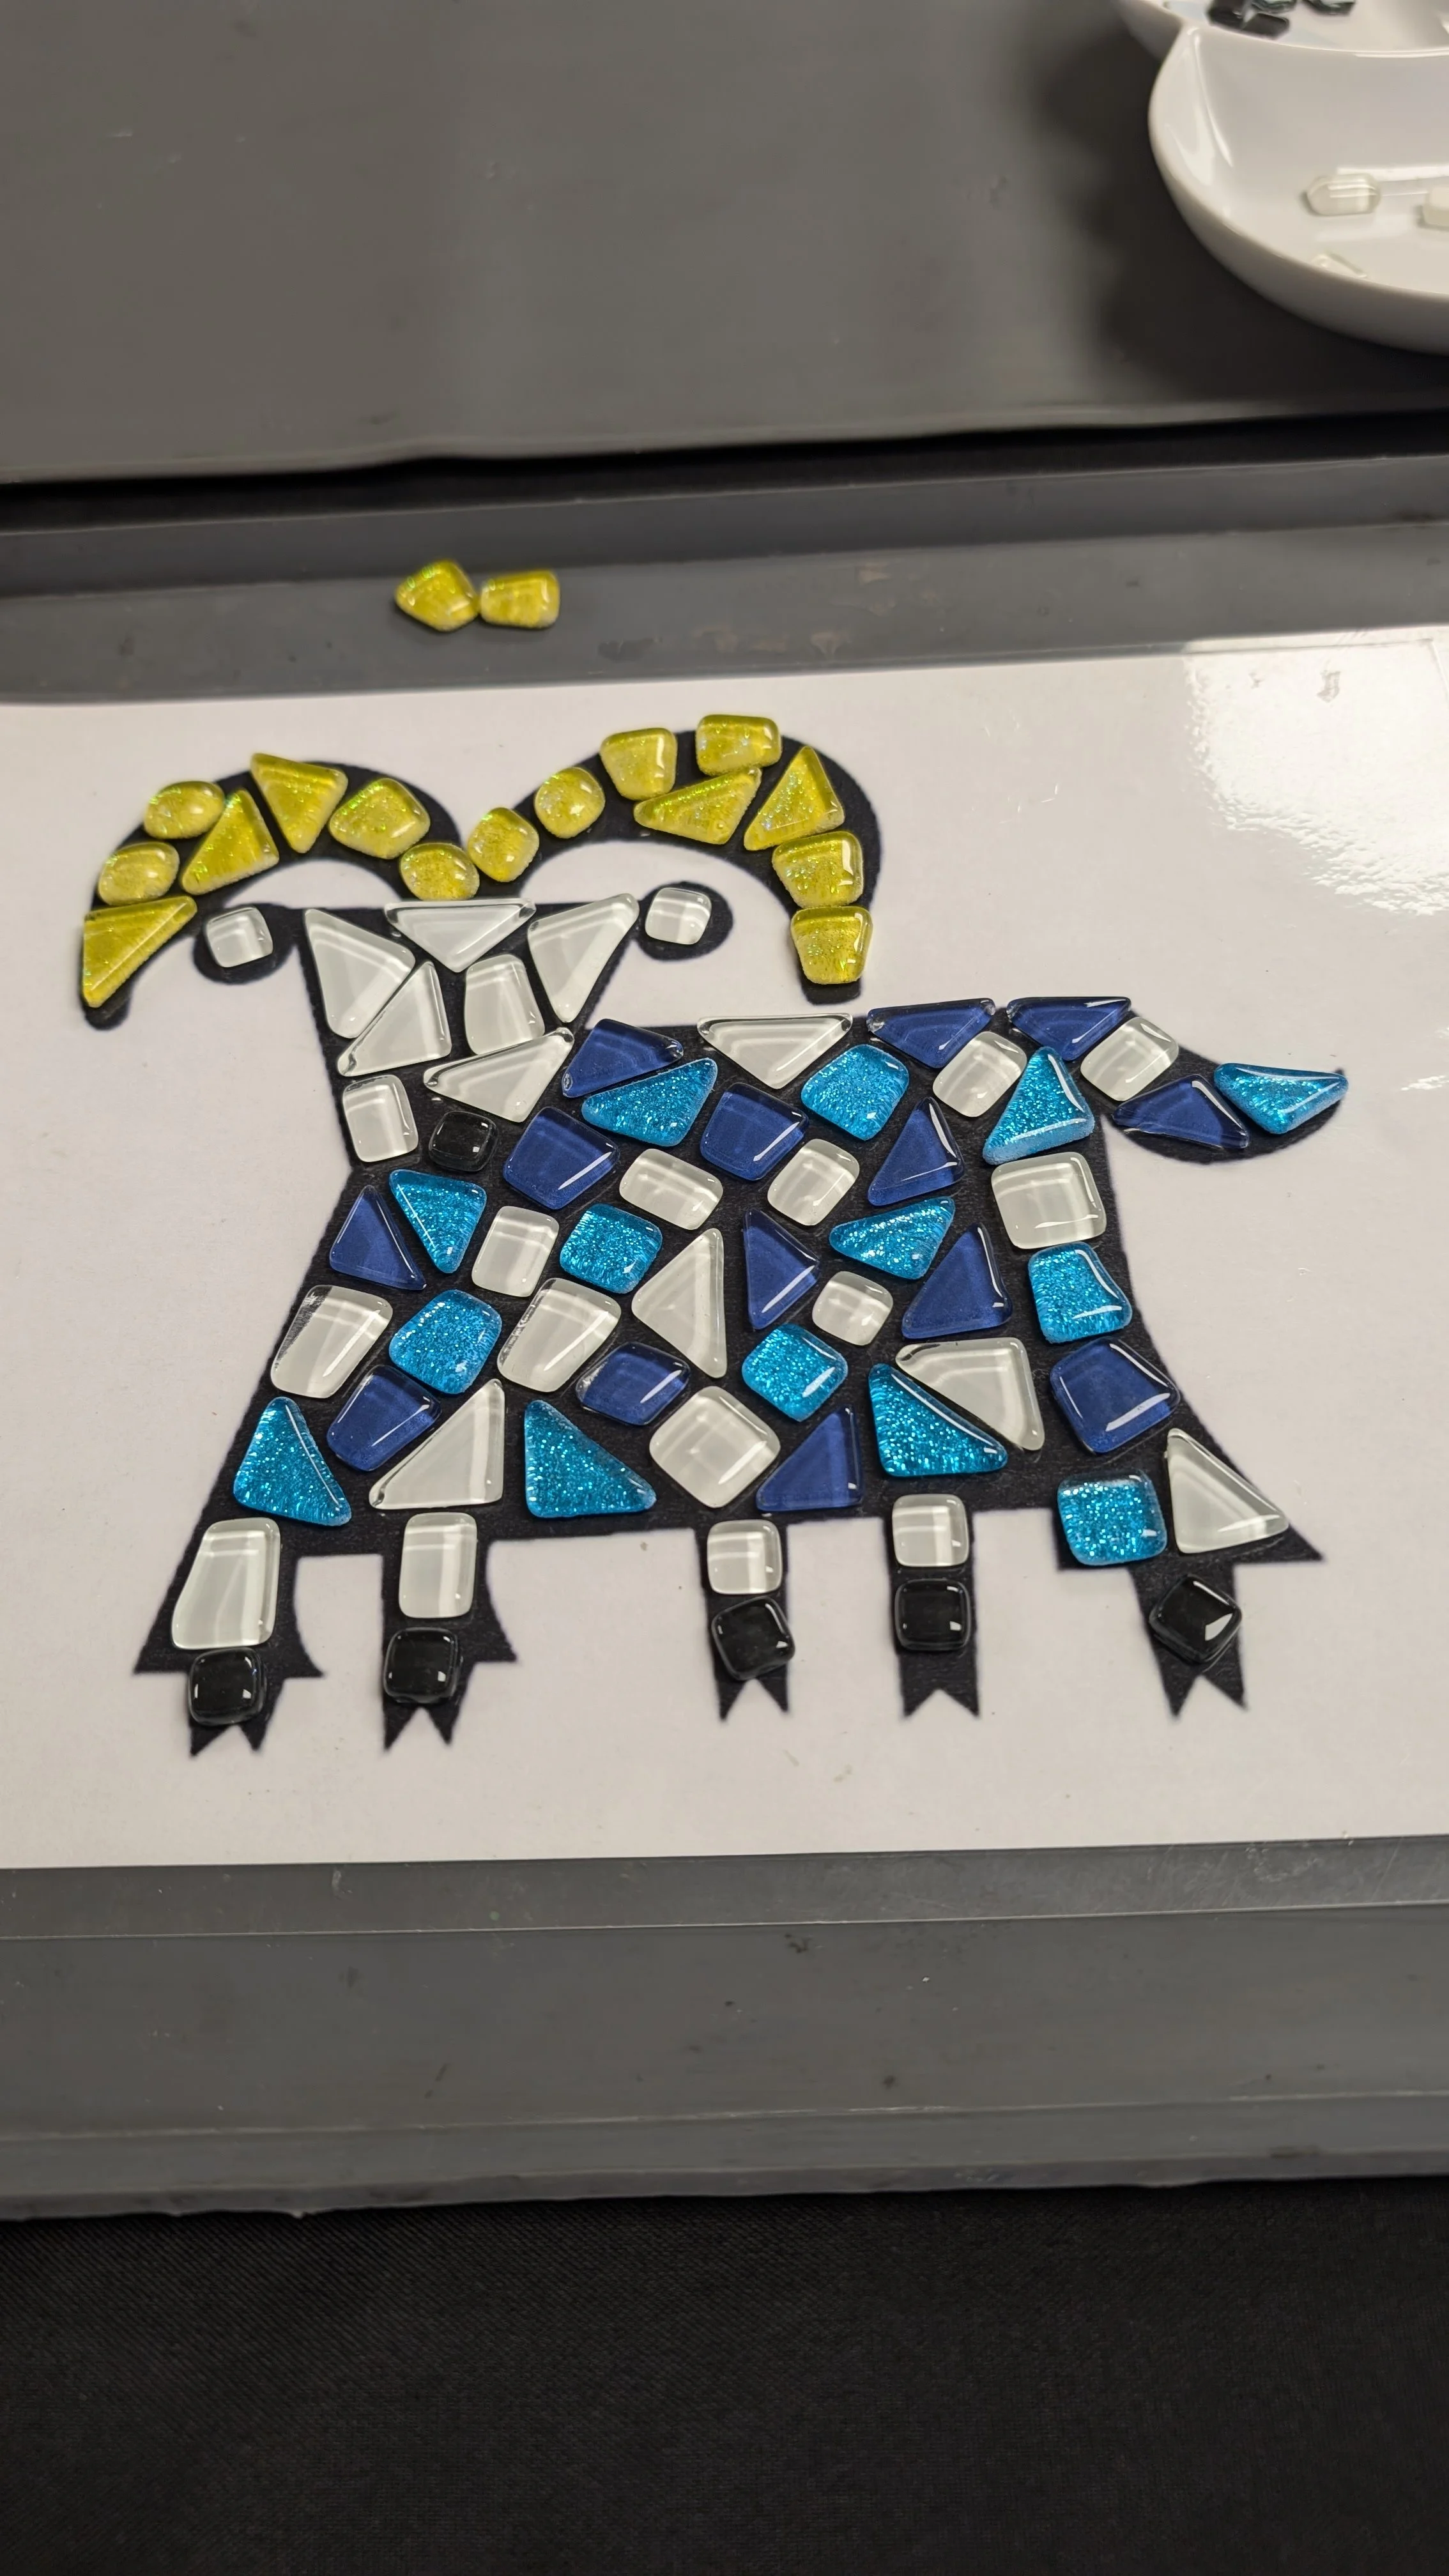
Once we were satisfied with our tile layout, the Cast Members showed us how to apply the glue and start gluing the tiles to the backing piece. Again, this took a while since the tiles didn’t line up exactly as they had on the template so we had to move them around a bit to get the design to work out.
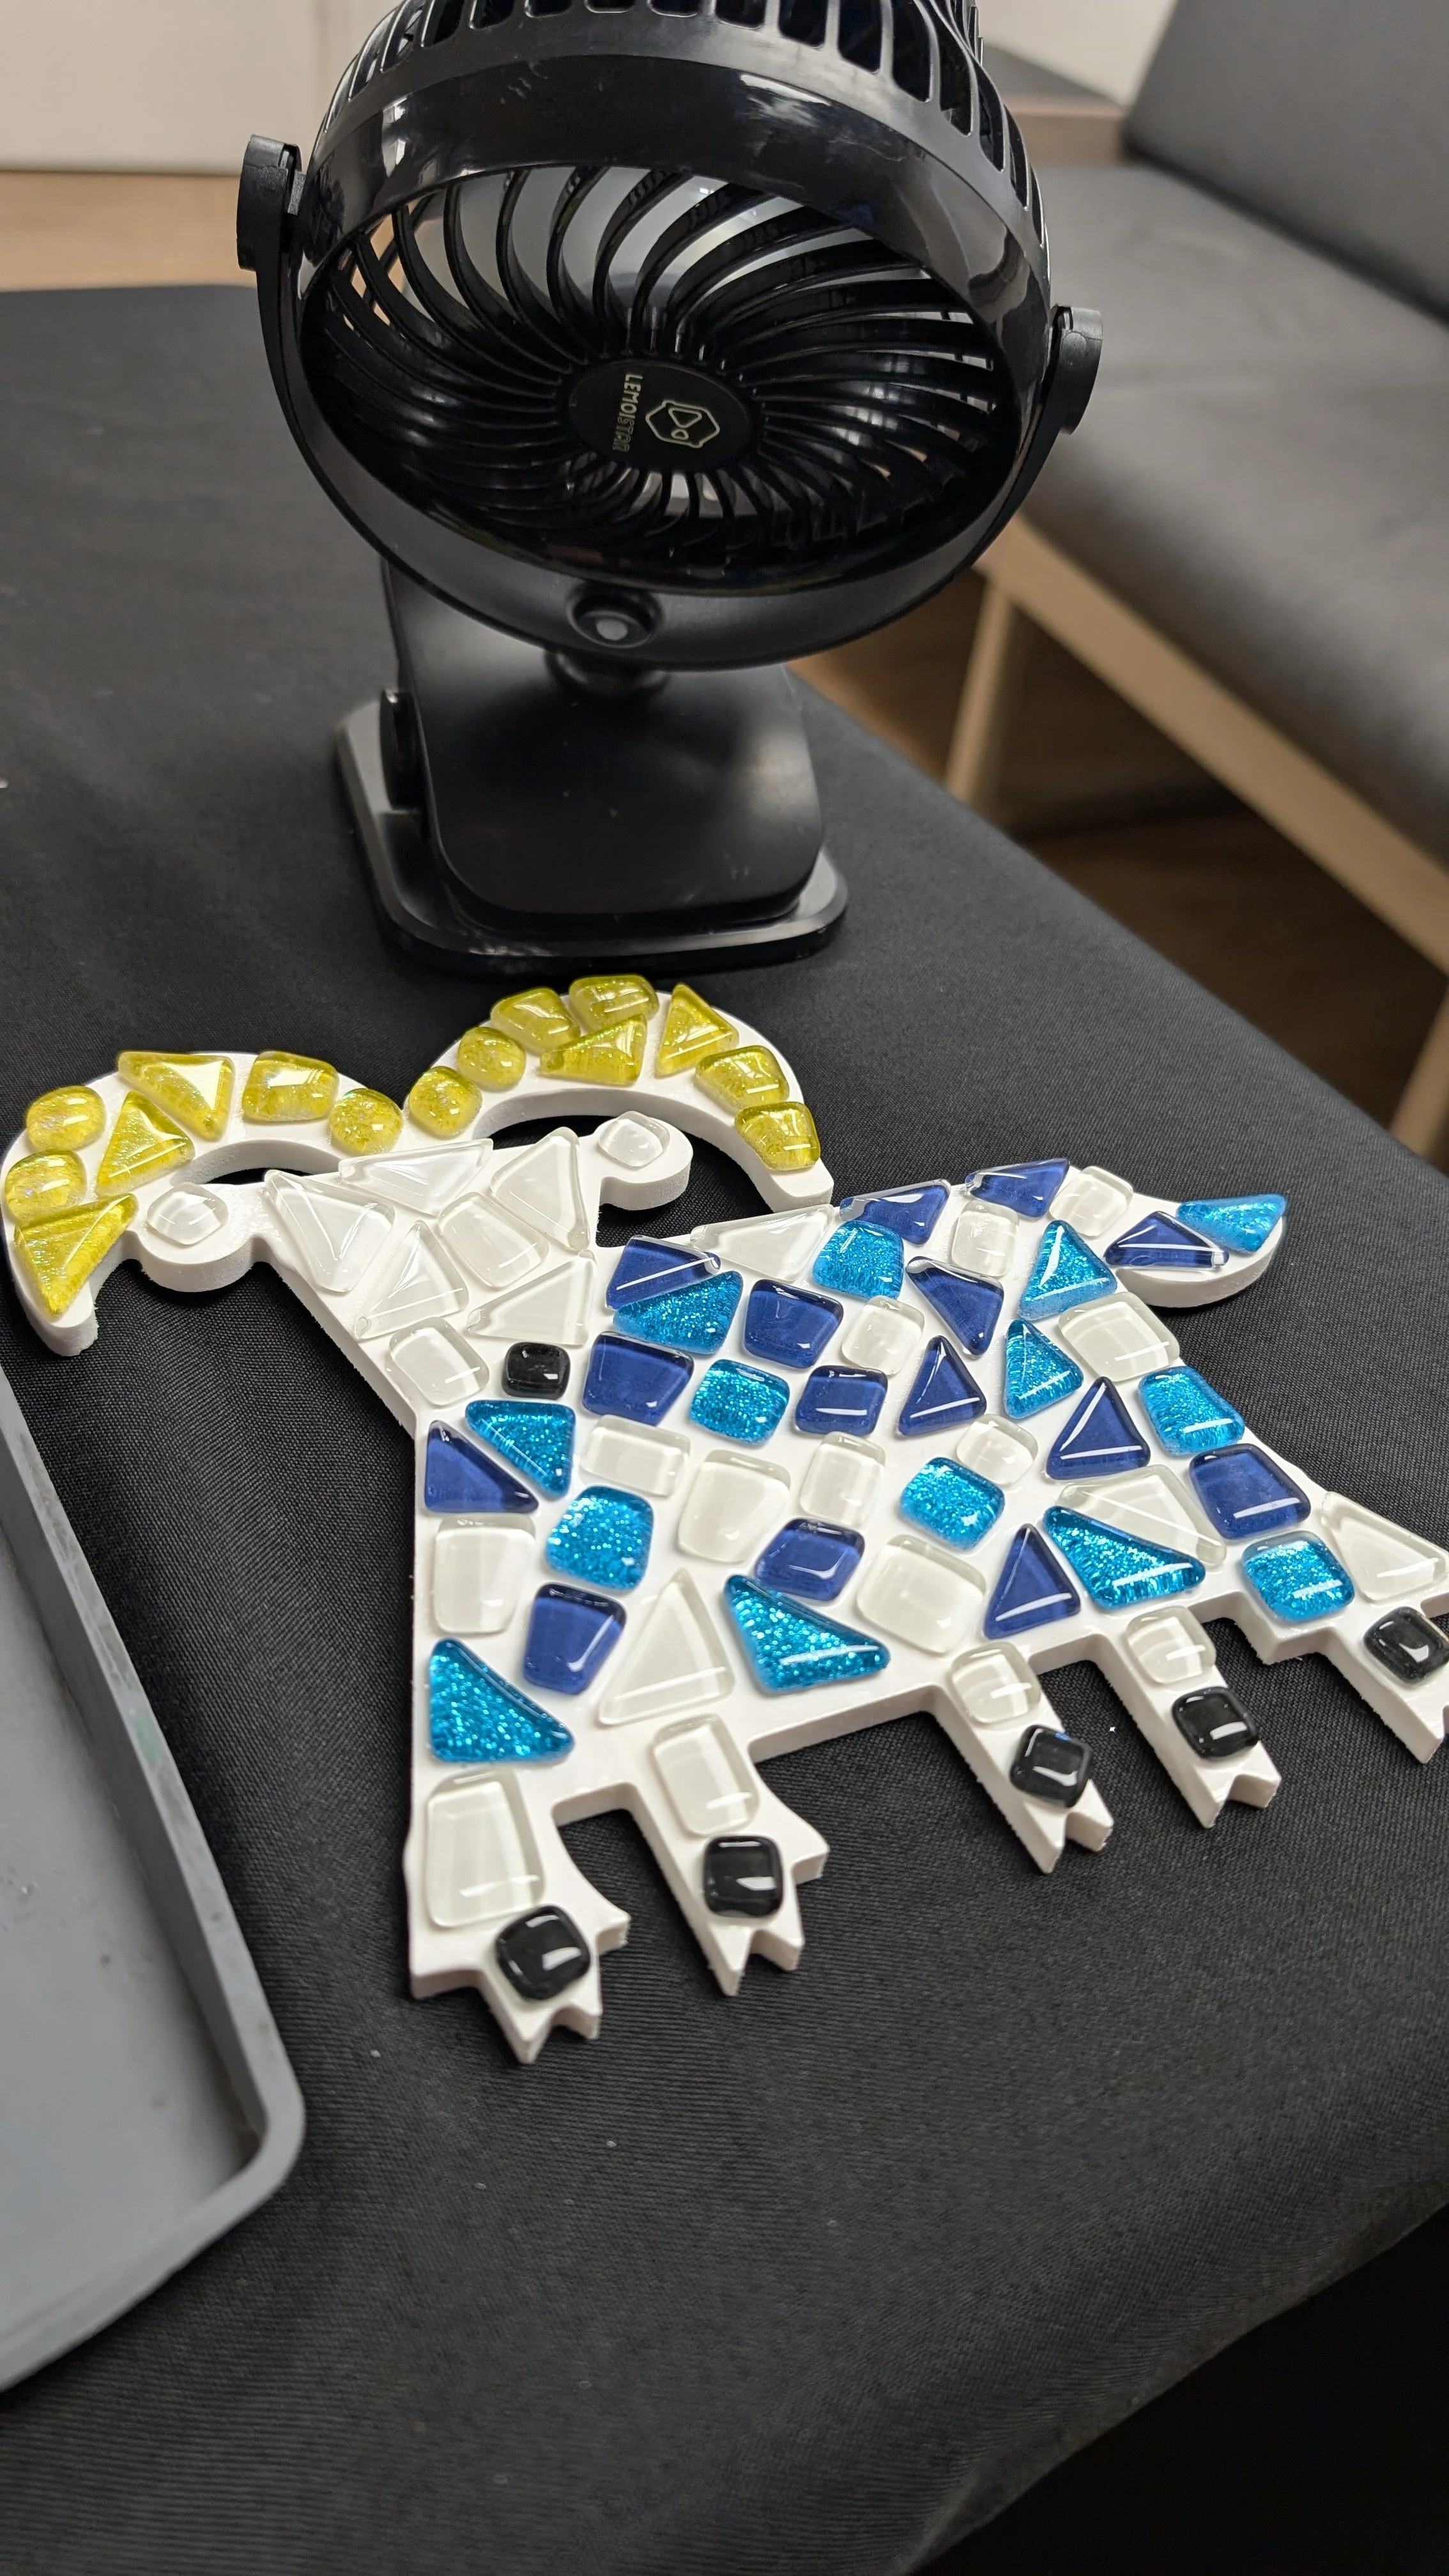
After the tiles were glued on it was a bit of a waiting game for the glue to dry. They did provide fans to help speed along the process, but it still took about 20-30 minutes. During that time the Cast Members recommended we popped next door to the Sand Bar to grab a drink, which we gladly did!
Eventually the glue had dried enough that we could start applying the grout. We had the choice of black or white grout. We both opted for white for our designs.
This is the part where I suddenly realized I picked a more advanced design. Grouting the center of the piece was easy, however when I got to the edges trying to get a smooth grout edge with all the nooks and crannies on my design was a challenge. The more smooth edge designs like Mickey or Minnie and the monorail are much easier to get clean edges!
By the time we got to grouting we were running short on time as well, so we had to quickly get that applied. This class is only two hours long, and every second of that two hours was needed!
Once we got the grout applied we were given to-go boxes to put them in since the grout was still wet. At this point the grout was really piled on and we couldn’t really even see the tiles. We were given instructions to wipe off the excess grout using towels in about an hour, and then a few hours after that use provided alcohol wipes to clean any excess grout off to finish the pieces.
With that we were kicked out of the room so they could clean and we headed back to our room with our new art that we still had to finish.
About an hour later we started to wipe the excess grout off, and the best advice I can give is grab a bunch of extra towels, and find a knife to help get a clean edge. This part was super messy, I ended up having to go get some napkins so we could finish cleaning it off. We did finally get it done, and now know to grab extra materials beforehand! Then a few hours later we used the alcohol wipes that were provided to finish wiping any excess grout off. Again, we should have requested extra alcohol wipes since the two provided were not enough to clean off the excess grout.
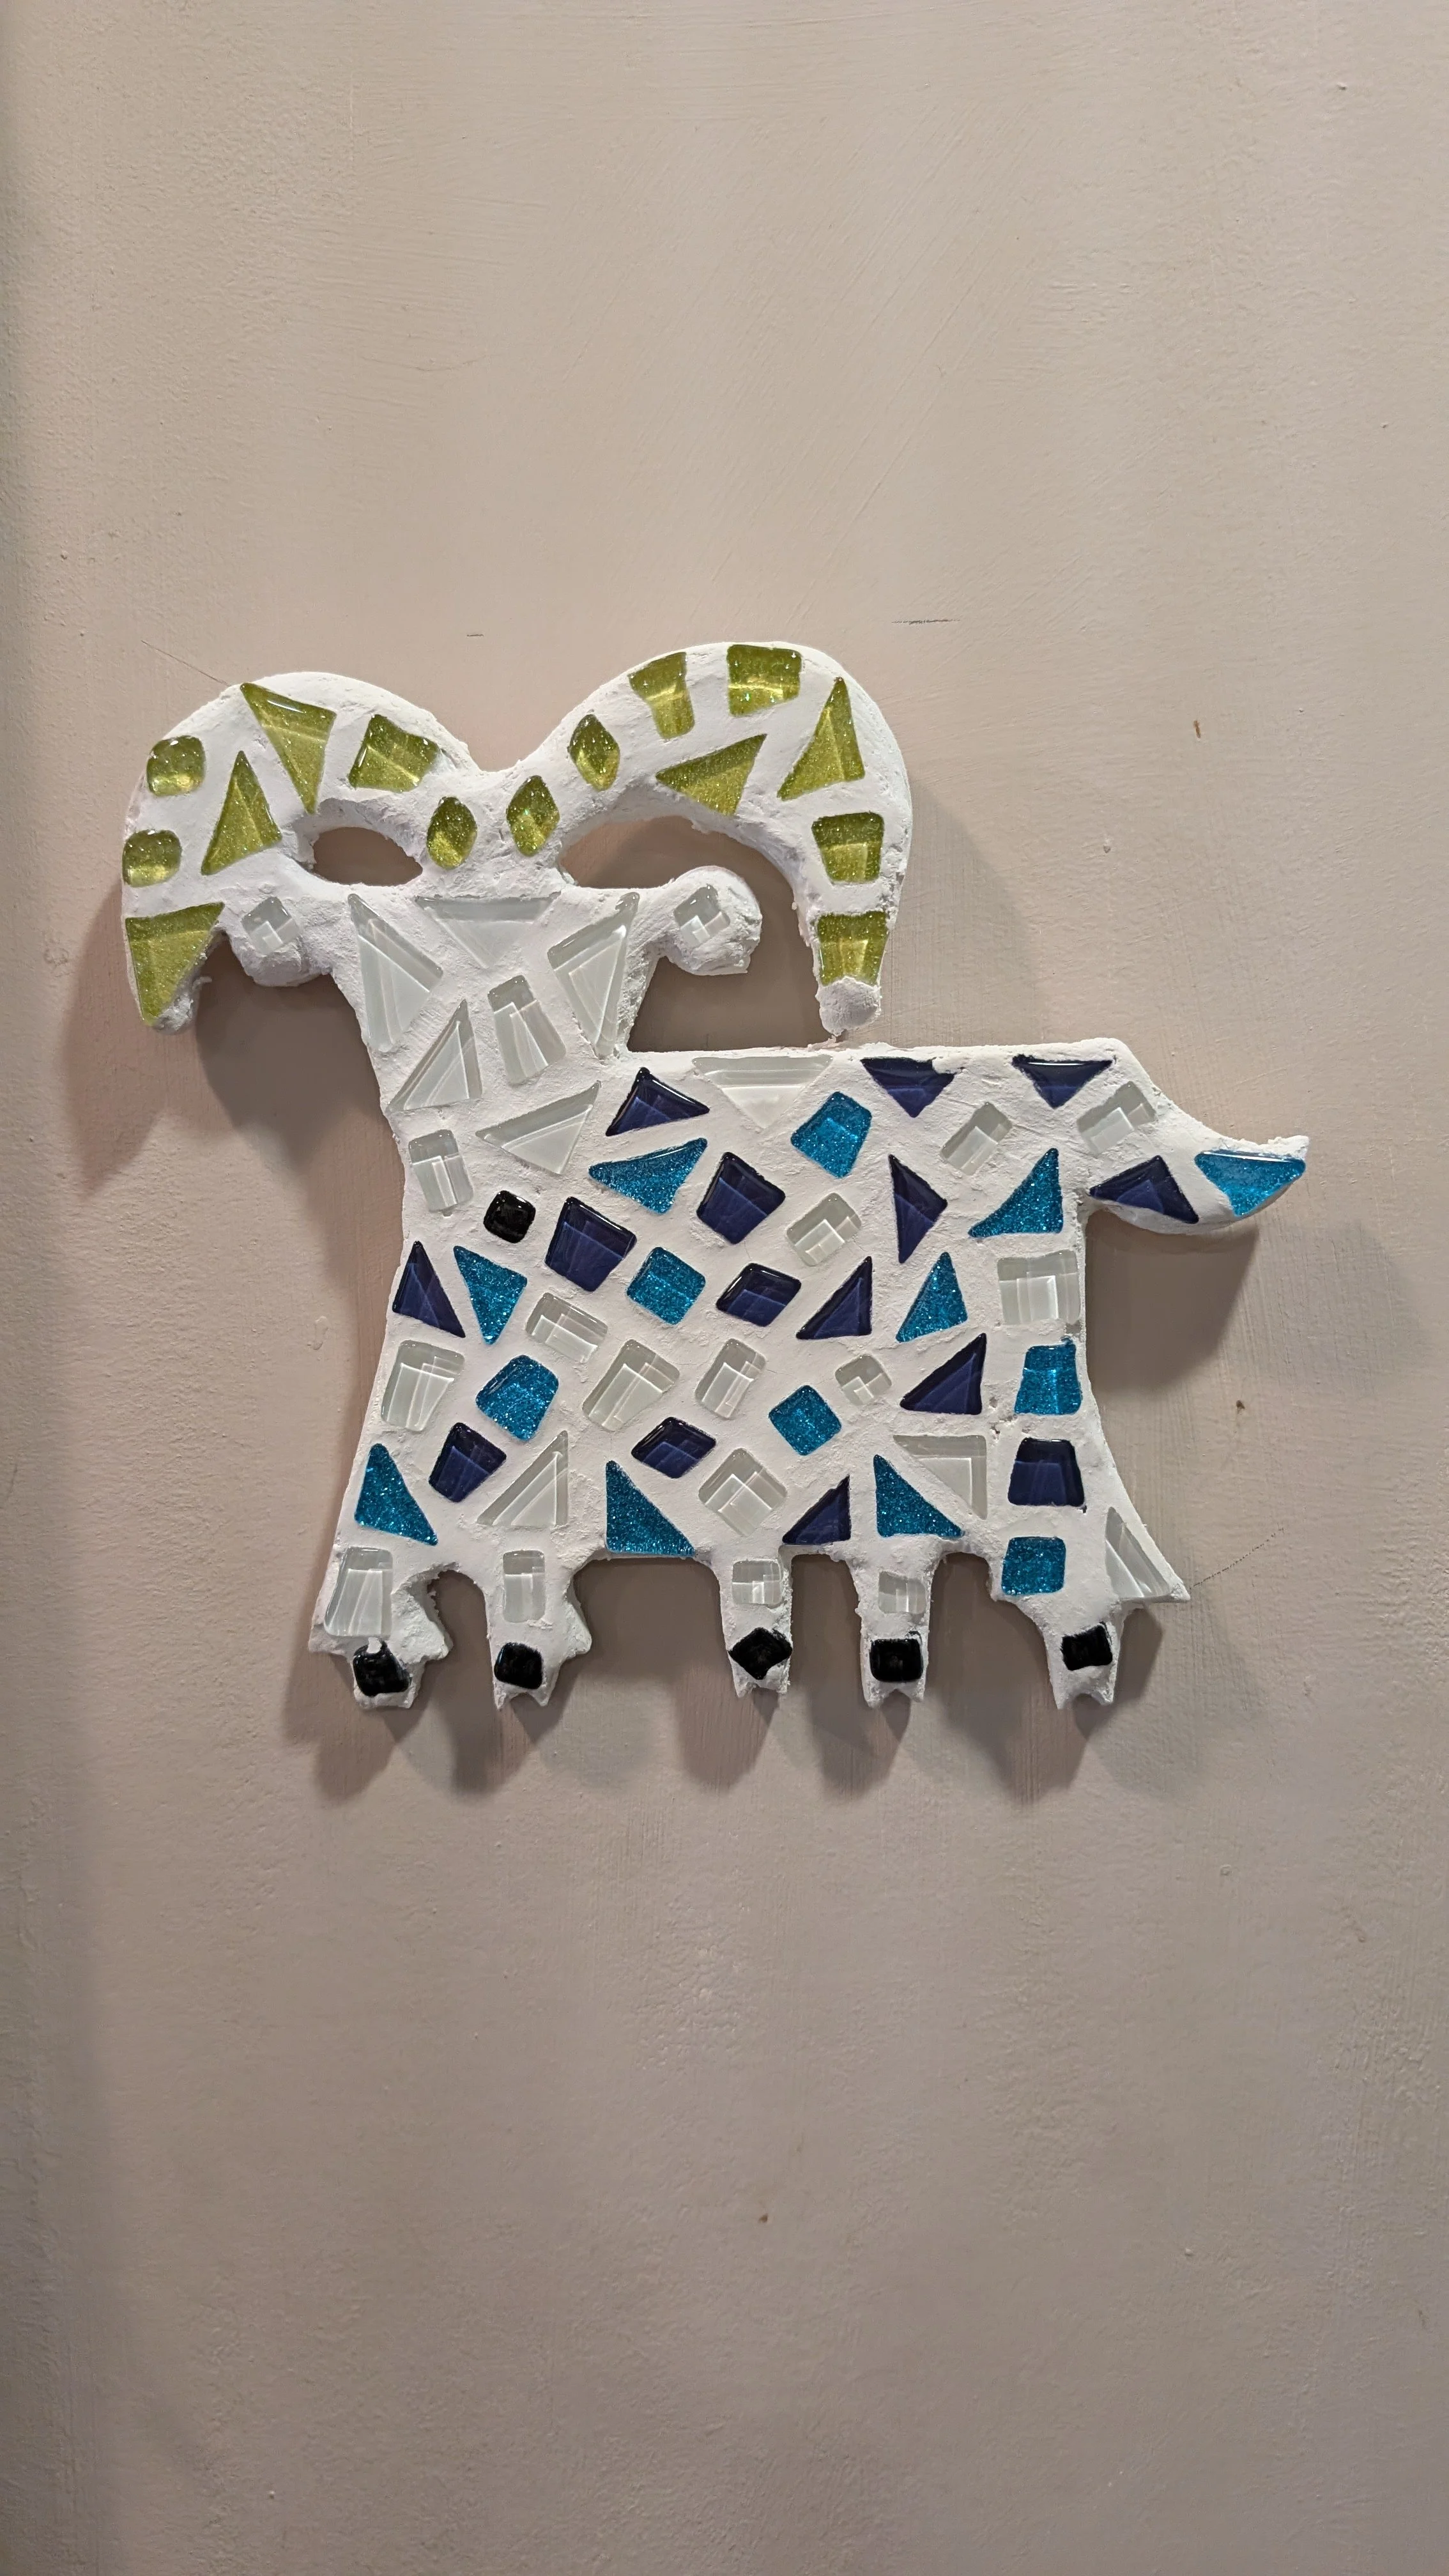
In the end we love the way these came out, and had such a fun time putting them together. The backing piece also has hardware so you can easily hang them on a wall! This is definitely a repeat activity for us, especially since different resorts have different designs so we can making something new each time. We 100% recommend checking one of these classes out. You can find when and where they are on the resort activity schedules on the Disney World website.